Easy Cherry Tart Recipe for Beginners: A Delightful Homemade Treat
Table of Contents
Why You’ll Love This Recipe
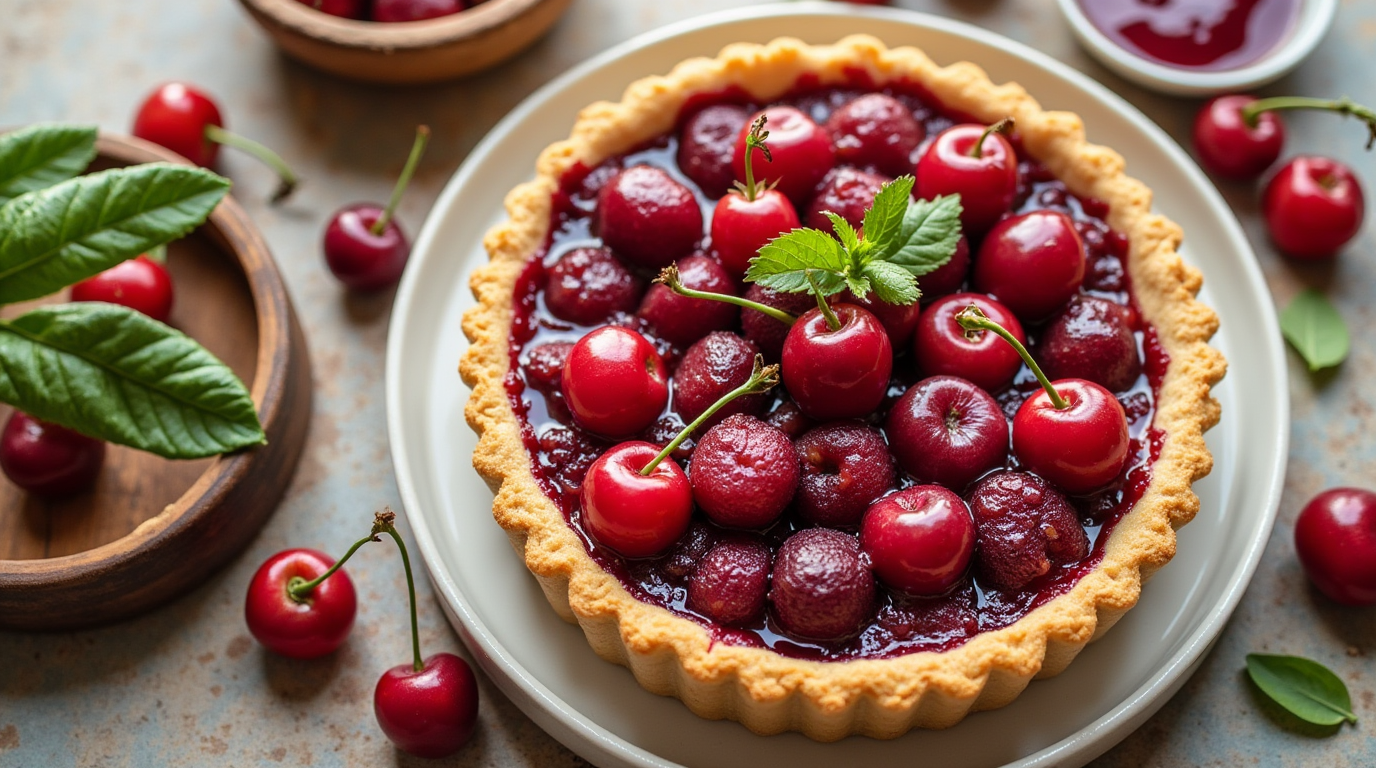
Imagine the warm scent of baked cherries wafting through your kitchen. Picture a golden, flaky crust cradling a sweet and tangy cherry filling, crowned with only a hint of vanilla. This cherry tart isn’t only a dessert; it’s a gateway to cherished memories and shared smiles. Whether it’s your first try at baking or you’re seeking out an outstanding but simple recipe, this smooth cherry tart has got you included.
Not only is it truthful, but it’s also versatile sufficient to evolve on your choices. With no fancy strategies or tools required, this recipe is best for novices. Let’s get commenced in this adventure of creating a dessert that’s indulgent and enjoyable.
Ingredients You’ll Need
To make certain an unbroken baking experience, accumulate all of your elements before diving into the manner. Here’s what you’ll need:
For the Tart Crust
| Ingredient | Quantity |
|---|---|
| All-purpose flour | 1 ½ cups |
| Unsalted butter | ½ cup (cold, diced) |
| Granulated sugar | 2 tbsp |
| Cold water | 3-5 tbsp |
For the Cherry Filling
| Ingredient | Quantity |
|---|---|
| Fresh cherries (pitted) | 4 cups |
| Sugar | ¾ cup |
| Cornstarch | 2 tbsp |
| Lemon juice | 1 tbsp |
| Vanilla extract | 1 tsp |
Optional Toppings
- Whipped cream
- Powdered sugar
Step-by-Step Instructions
Step 1: Prepare the Tart Crust
Creating the ideal tart crust is simpler than you might assume:
- Mix Dry Ingredients: In a large bowl, combine the flour and sugar.
- Add Butter: Incorporate the bloodless, diced butter, blending until the combination resembles breadcrumbs.
- Form the Dough: Gradually add bloodless water, one tablespoon at a time, until the dough holds collectively.
- Chill: Wrap the dough in plastic wrap and refrigerate for at the least half-hour to make it easier to roll out.
Step 2: Make the Cherry Filling
While the dough chills, focus on crafting the superstar of the tart: the cherry filling.
- Combine Ingredients: In a medium saucepan, blend the pitted cherries, sugar, cornstarch, and lemon juice.
- Cook and Thicken: Heat the combination over medium warmness, stirring often, till it thickens to a jam-like consistency.
- Add Vanilla: Remove from warmth and stir within the vanilla extract for a rich, aromatic end. Let the filling cool before the usage of.
Step 3: Assemble the Tart
- Roll Out the Dough: On a gently floured floor, roll out the chilled dough to fit your tart pan.
- Fit and Trim: Place the dough into the pan, urgent it lightly into the corners. Trim off any extra dough.
- Add the Filling: Pour the cooled cherry filling into the crust, spreading it frivolously.
Optional: Create a decorative lattice top with leftover dough strips for a stylish contact.
Step 4: Bake the Tart
- Preheat the Oven: Set your oven to 375°F (190°C).
- Bake: Place the tart within the oven and bake for 35-40 minutes, or till the crust is golden brown.
- Cool and Serve: Allow the tart to cool absolutely earlier than slicing to make certain easy cuts.
Pro Tips for Perfect Results
- Choosing Cherries: Opt for fresh, sweet cherries during their peak season for the excellent taste. Frozen cherries can be used instead, but thaw and drain them nicely to prevent a soggy filling.
- Blind Baking: For a further crisp crust, bake the tart shell for 10 minutes earlier than including the filling.
- Decorative Edges: Use a fork or crimping tool to feature a professional touch to the edges of your tart.
Frequently Asked Questions (FAQs)
Can I use canned cherries for this recipe?
Yes, canned cherries in water or mild syrup can be used. Just reduce the sugar inside the recipe to balance the beauty.
How do I prevent a soggy crust?
Blind bake the crust and make sure the cherry filling has cooled earlier than assembling the tart.
Can I make this tart ahead of time?
Absolutely! Prepare and bake the tart a day in advance. Store it protected at room temperature, and it’ll be geared up to serve.
What’s the best way to store leftovers?
Cover the tart with plastic wrap or store it in an airtight field inside the refrigerator for up to three days. Reheat slices inside the oven for a freshly baked taste.
Conclusion: Your Cherry Tart Awaits
There’s some thing magical about baking your own cherry tart. The technique is straightforward, the substances are easy, and the consequences are nothing brief of outstanding. Whether you’re treating your self, impressing pals, or sharing with circle of relatives, this clean cherry tart recipe is a winner every time.