
Why 8 Out of 10 Bakers Love Crafting Their Own Fruit Tart Recipes
Have you ever wondered why so many bakers swear by crafting their own fruit tart recipes instead of buying them from the store? Is it just about saving money, or is there something magical about making your own dessert that makes it taste better? Today, we’re diving into the world of homemade [fruit tarts], uncovering why they’re a favorite among bakers and sharing a simple recipe that anyone can try. Ready to discover the secret behind this delightful treat? Let’s get started!
Table of Contents
Overview:
There’s something special about a homemade [fruit tart]. It’s not just a dessert—it’s an experience! Whether you’re hosting a dinner party or simply treating yourself, these vibrant creations are sure to impress. Making a [fruit tart] at home requires about 2 hours of your time, including preparation and chilling, but don’t worry—it’s easier than it sounds. This recipe is perfect for beginners because it uses basic ingredients and straightforward techniques. Plus, with endless variations, you’ll never run out of ways to personalize your creation.
Essential Ingredients:
Here’s what you need to make a show-stopping [fruit tart]:
For the Crust:
- All-purpose flour : Forms the base of the crust. You can substitute gluten-free flour if needed.
- Unsalted butter : Adds richness and flakiness. Use vegan butter for a plant-based option.
- Sugar : Sweetens the crust slightly. Try brown sugar for a deeper flavor.
- Egg yolk : Helps bind the crust together. Replace with aquafaba for a vegan version 9.
For the Filling:
- Cream cheese or mascarpone : Provides a creamy texture. Greek yogurt works as a lighter alternative.
- Powdered sugar : Sweetens the filling without adding bulk.
- Vanilla extract : Enhances the flavor profile. Use almond extract for a twist.
For the Topping:
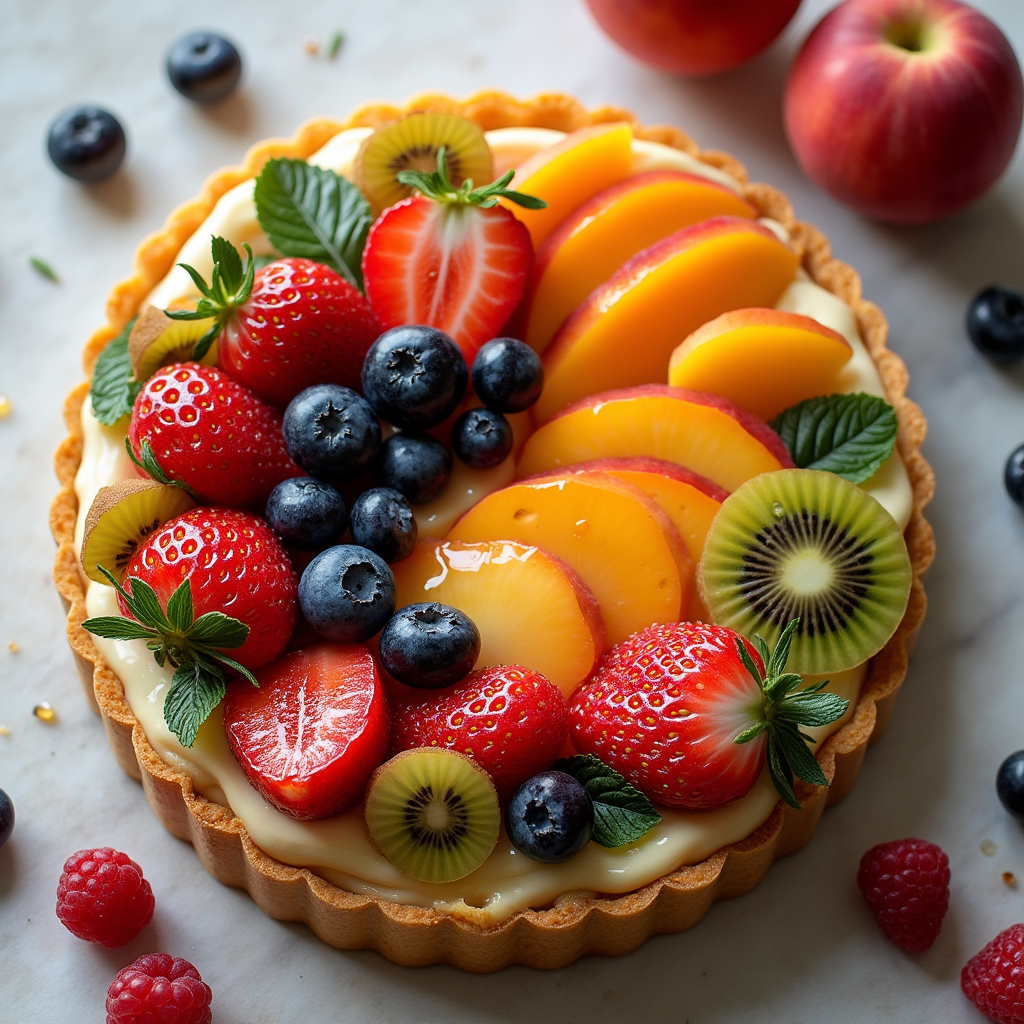
- Fresh fruits : Choose your favorites—berries, peaches, kiwis, or mangoes work beautifully. Avoid overly ripe fruits, which can release too much moisture and make the tart soggy 6.
- Jam or glaze : Optional, but adds shine and sweetness to the fruit.

Step-by-Step Instructions:
Step 1: Prepare the Crust
- In a mixing bowl, combine flour, sugar, and cold cubed butter. Rub the mixture between your fingers until it resembles coarse crumbs.
- Add one egg yolk (or its vegan equivalent) and mix until the dough comes together.
- Wrap the dough in plastic wrap and chill for at least 30 minutes. Chilling ensures the crust stays firm during baking.
Step 2: Bake the Crust
- Preheat your oven to 350°F (175°C).
- Roll out the chilled dough on a floured surface and fit it into a tart pan. Trim any excess edges.
- Prick the bottom with a fork to prevent puffing and bake for 15–20 minutes, or until golden brown.
Step 3: Make the Filling
- Beat cream cheese or mascarpone with powdered sugar until smooth.
- Stir in vanilla extract and set aside.
Assembly:
Putting It All Together:
- Spread the filling evenly over the cooled crust.
- Arrange fresh fruits artistically on top. Get creative—patterns like spirals or stripes look stunning!
- Brush a thin layer of jam or glaze over the fruit for extra shine.
- Chill the assembled tart in the refrigerator for at least 1 hour before serving.
Presentation Tips:
- Use seasonal fruits for vibrant colors.
- Experiment with different shapes and arrangements.
- Serve with a dusting of powdered sugar for elegance.
Storage and Make-Ahead Tips:
Store your [fruit tart] in the refrigerator for up to 3 days. To keep it fresh, cover it tightly with plastic wrap or place it in an airtight container. If preparing ahead, assemble the tart just before serving to maintain crispness. For longer storage, freeze the unbaked crust and filling separately; thaw and assemble when ready.
Recipe Variations:
- Savory Twist: Swap sweet fruits for roasted stone fruits and add herbs like thyme or rosemary for a unique flavor.
- Vegan Option: Use a plant-based crust and coconut cream for the filling.
- Mini Tarts: Bake individual servings in muffin tins for a fun presentation.
- Seasonal Flavors: Incorporate cranberries for winter or tropical fruits for summer .
Conclusion:
Making your own [fruit tart] isn’t just rewarding—it’s fun! From choosing your favorite fruits to designing the perfect layout, every step allows you to express your creativity. So why do 8 out of 10 bakers love crafting their own recipes? Because nothing beats the satisfaction of creating something truly personal and delicious. Now it’s your turn—grab your apron and start experimenting. Who knows? You might just create your new signature dessert!
FAQs:
Q: Can I use store-bought crust for my [fruit tart]?
A: Absolutely! While homemade crusts offer more control over flavor and texture, store-bought options save time and still produce great results.
Q: What health benefits come from eating [fruit tarts]?
A: Fresh fruits provide essential vitamins and antioxidants, while whole-grain crusts can boost fiber intake. Just remember to enjoy in moderation!
Q: How long does a [fruit tart] last in the fridge?
A: A well-sealed [fruit tart] can stay fresh in the refrigerator for up to 3 days. Always check for signs of spoilage before consuming.
Q: Do I have to blind-bake the crust?
A: Not necessarily. Some recipes, like the one mentioned here, skip blind-baking entirely for simplicity