Best 7 Tips for Making Italian Bread at Home You Need to Try Now
Have You Ever Wondered What Makes Italian Bread So Irresistible?
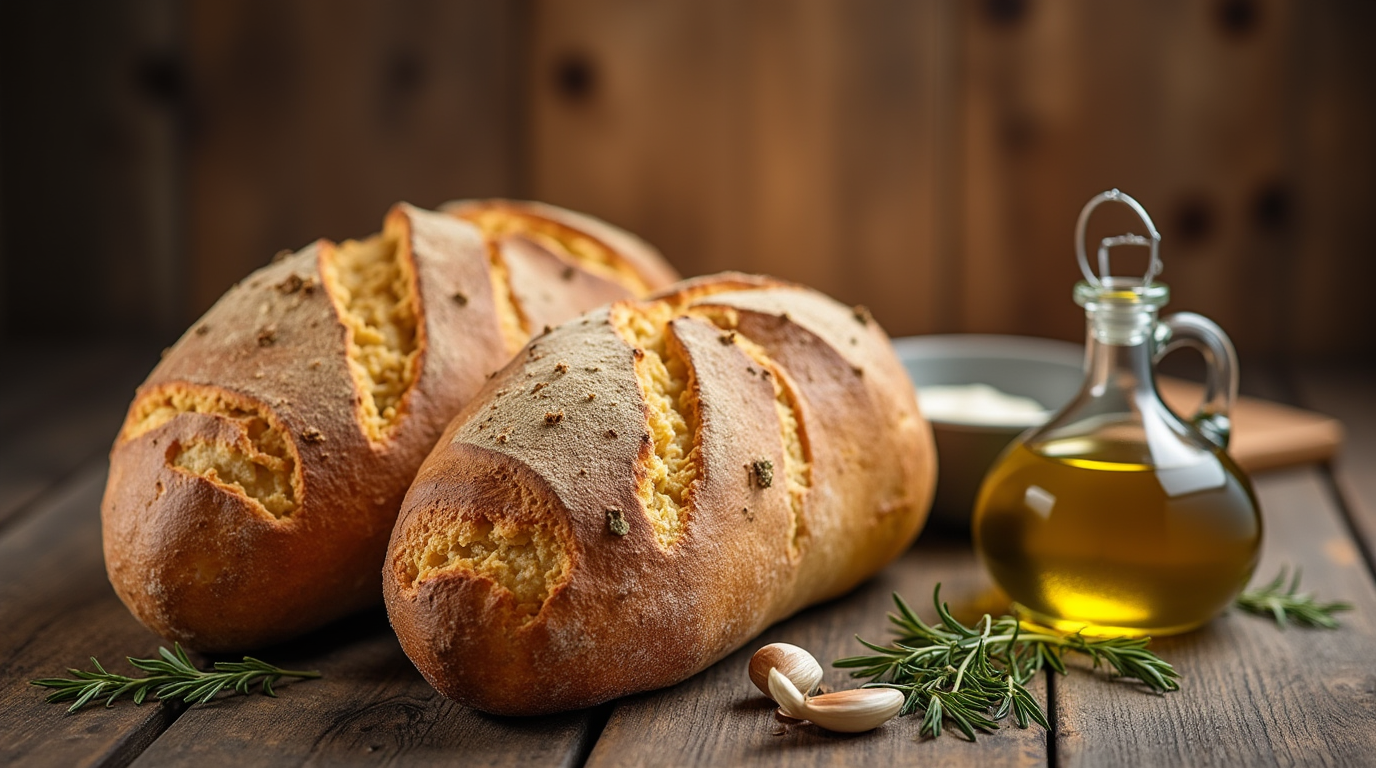
Imagine biting into a warm, freshly baked loaf of [italian bread], its crust crackling slightly as you tear it apart to reveal the soft, pillowy interior. But have you ever stopped to think about what makes this simple food so special? Why does homemade [italian bread] often fall short compared to the loaves we buy from bakeries? In this article, we’re going to uncover the secrets behind creating authentic [italian bread] right in your own kitchen—no fancy equipment required!
Table of Contents
Overview: Why This Recipe Stands Out
Making [italian bread] might seem daunting, but with the right techniques and ingredients, anyone can master it. This recipe is not only delicious but also surprisingly easy once you understand the basics. The entire process takes about 3-4 hours, including rising time, making it perfect for a weekend project or even a weekday evening if planned ahead. It’s beginner-friendly, yet sophisticated enough to impress guests.
This guide will walk you through seven essential tips that will elevate your homemade [italian bread] game. Whether you’re new to baking or looking to refine your skills, these strategies will help you achieve professional-quality results every time.
Essential Ingredients for Perfect Italian Bread
Before diving into the steps, let’s talk about the key players in our [italian bread]:
- Flour : Strong flour or bread flour is crucial because it contains more gluten, which gives structure to the bread 3. All-purpose flour works too, but bread flour ensures a lighter texture.
- Yeast : Active dry yeast is the leavening agent responsible for those air pockets inside the bread. Make sure your yeast is fresh; otherwise, your dough won’t rise properly 6.
- Water : Warm water (around 110°F) activates the yeast without killing it. Too hot, and you risk destroying the yeast; too cold, and it won’t activate fully 9.
- Olive Oil : Extra virgin olive oil adds flavor and moisture to the bread. If you prefer a milder taste, regular olive oil works just fine 3.
- Salt : Kosher salt or sea salt enhances the flavors of the other ingredients while controlling yeast activity 7.
- Sugar : A small amount of sugar helps feed the yeast during fermentation. Don’t worry—it doesn’t make the bread sweet 8.
Substitutions and Variations : For a healthier option, consider using whole wheat flour mixed with all-purpose flour. You could also experiment with herbs like rosemary or garlic for added flavor.
Step-by-Step Instructions for Making Italian Bread
Now that you know the essentials, here’s how to bring them together:
Step 1: Activate the Yeast
In a small bowl, dissolve 2 ½ teaspoons of active dry yeast in ½ cup of warm water (about 110°F). Add ½ teaspoon of granulated sugar and let it sit for 5-10 minutes until frothy. This step confirms the yeast is alive and ready to work.

Step 2: Combine Dry Ingredients
In a large mixing bowl or the bowl of a stand mixer, combine 5 cups of bread flour and 2 ½ teaspoons of salt. Mix well to ensure even distribution.
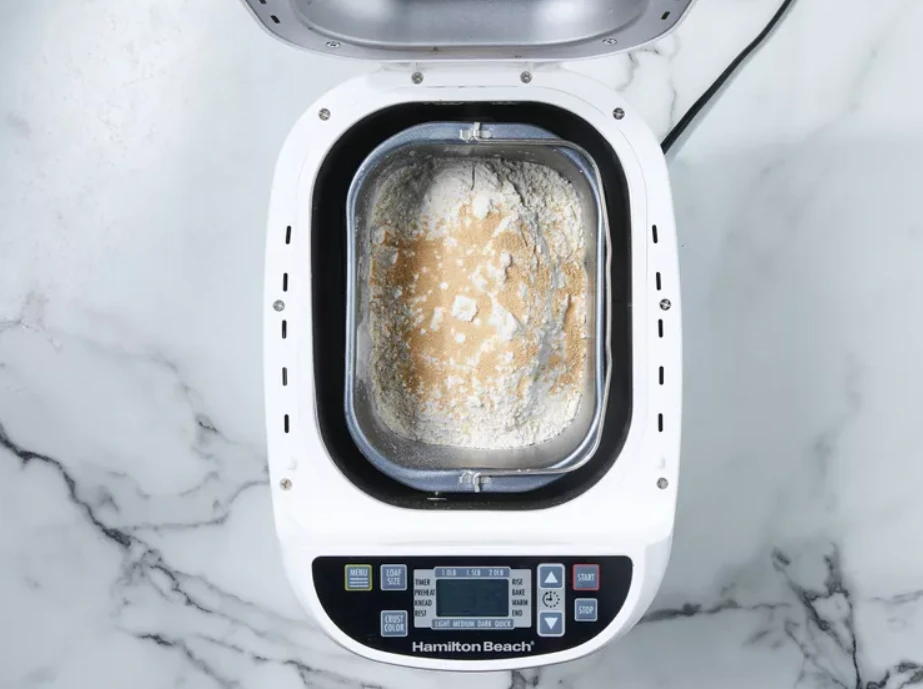
Step 3: Form the Dough
Add the activated yeast mixture to the dry ingredients along with 1 ¼ cups of additional warm water and 2 tablespoons of olive oil. Use a wooden spoon or dough hook attachment to mix everything until a rough dough forms.
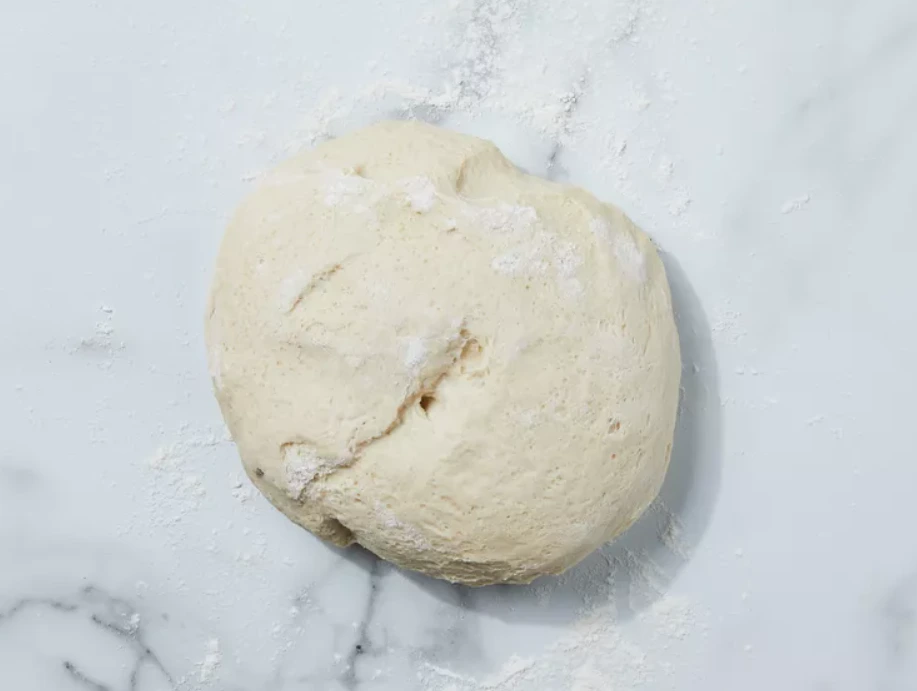
Step 4: Knead the Dough
Turn the dough out onto a floured surface and knead by hand for 8-10 minutes, or use a stand mixer on medium speed for 5 minutes. Your goal is to create a smooth, elastic ball of dough.
Step 5: First Rise
Place the dough in a lightly oiled bowl, cover it with a damp cloth, and let it rise in a warm spot for 1-2 hours, or until doubled in size.
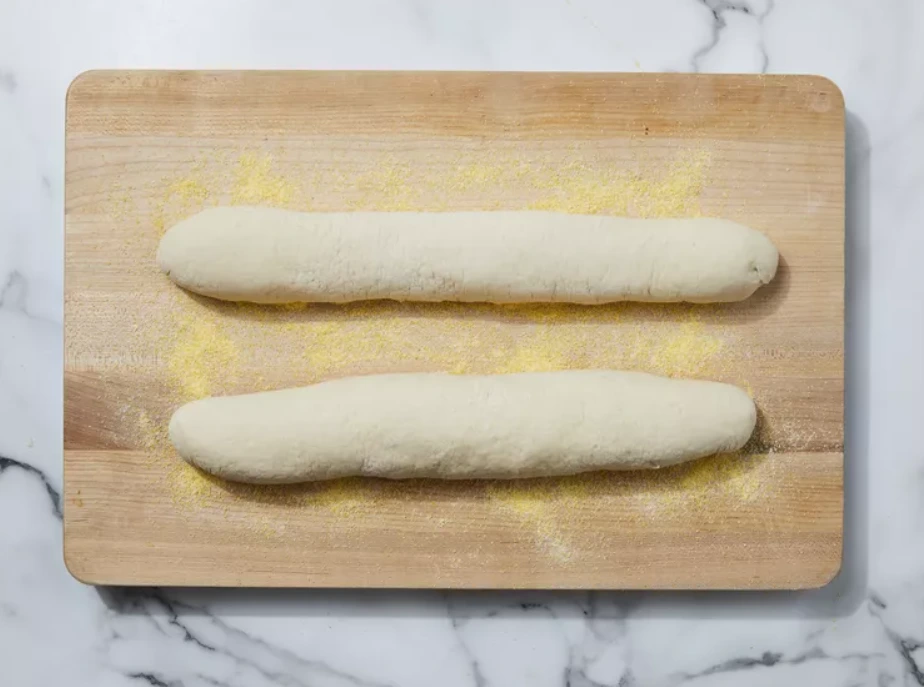
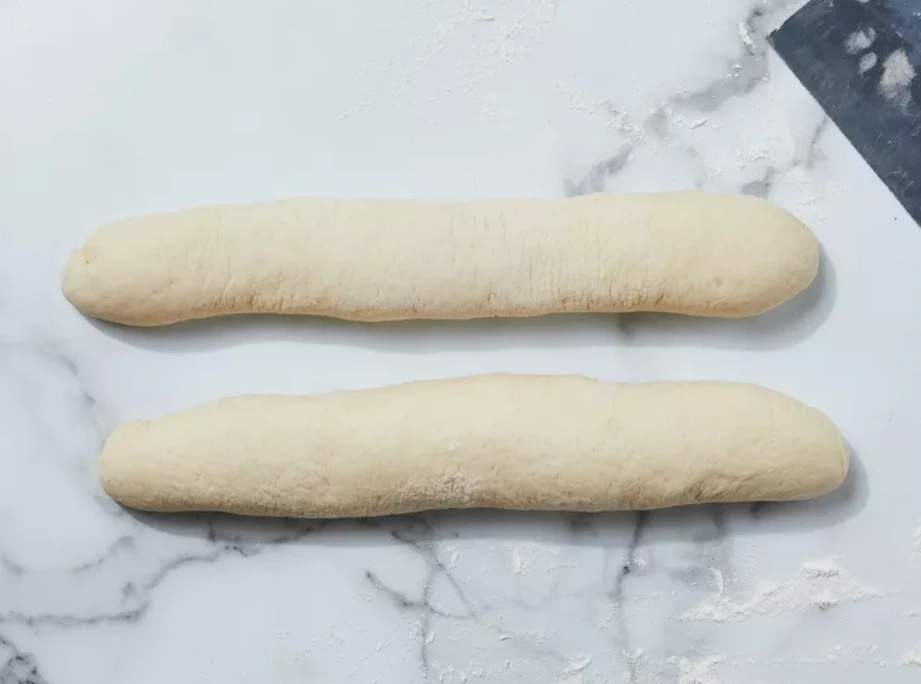
Step 6: Shape the Loaf
Punch down the risen dough to release trapped gases. Divide it into two equal portions if desired, shape each into an oblong loaf, and place them on a parchment-lined baking sheet.
Step 7: Second Rise
Cover the shaped loaves and let them rise again for another 30-45 minutes. Preheat your oven to 350°F during this time.
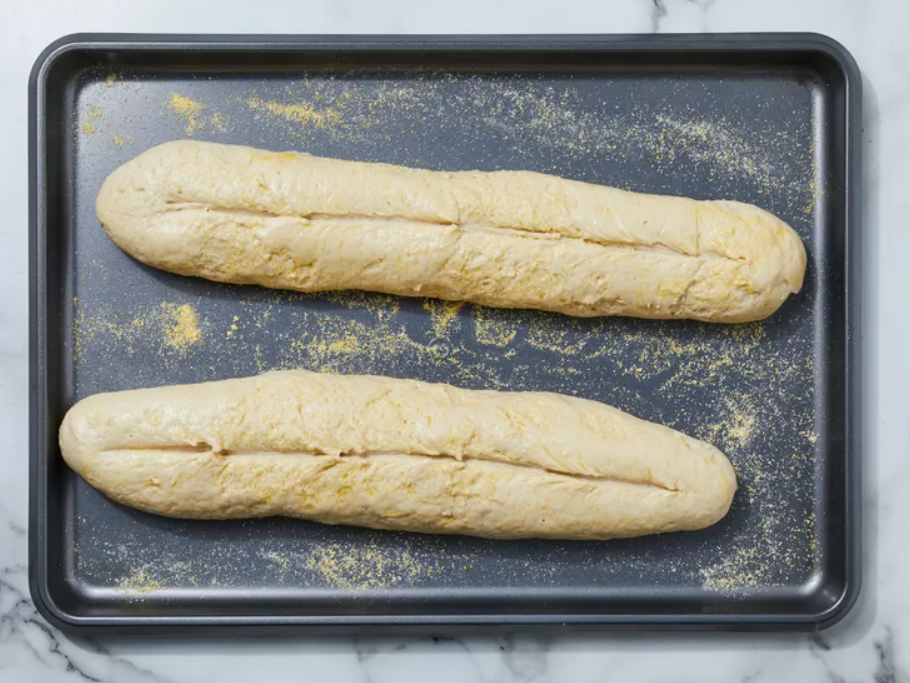
Step 8: Bake the Bread
Score the tops of the loaves with a sharp knife or lame to allow expansion while baking. Bake for 30 minutes, then rotate the pan and reduce the temperature to 300°F for an additional 15-20 minutes.

Assembly and Presentation Tips
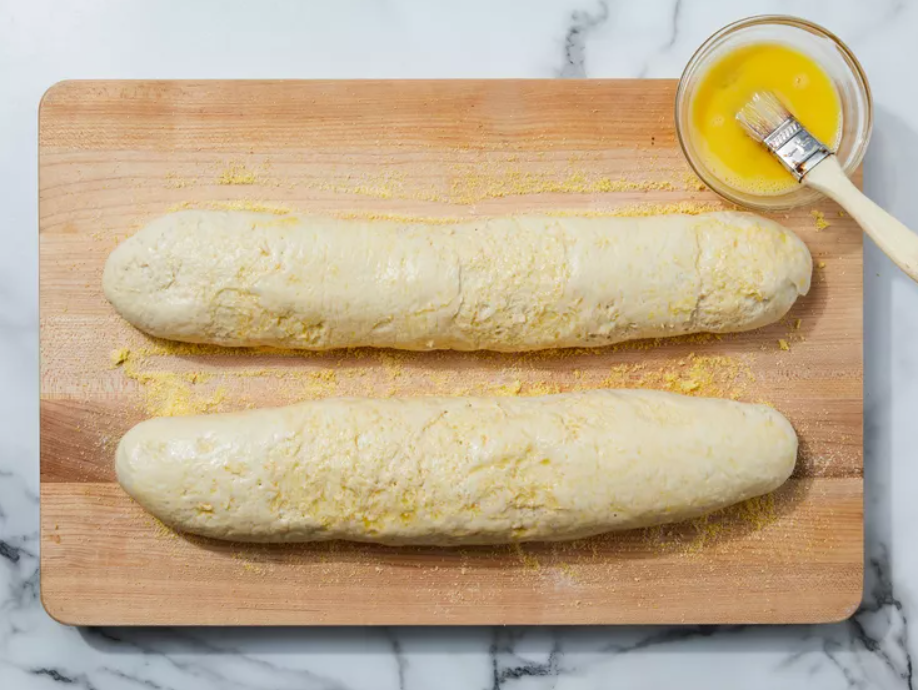
Once your [italian bread] is golden brown and sounds hollow when tapped, remove it from the oven and let it cool completely on a wire rack. Cooling prevents the crust from becoming soggy. To serve, slice the bread diagonally for maximum presentation appeal. Consider pairing it with marinara sauce, butter, or olive oil for dipping.
For extra flair, sprinkle coarse sea salt or chopped fresh herbs over the top before baking for added texture and aroma.
Storage and Make-Ahead Tips
Proper storage keeps your [italian bread] fresh longer. Allow it to cool completely before storing in a paper bag or bread box at room temperature. Avoid plastic bags unless freezing, as they trap moisture and cause mold growth 8.
If preparing in advance, you can freeze unbaked dough after shaping. Simply wrap it tightly in plastic wrap and aluminum foil, then thaw overnight in the refrigerator before letting it come to room temperature and baking as usual.
To reheat slices, wrap them loosely in foil and warm in a 350°F oven for 10 minutes. Alternatively, toast individual pieces for crispy goodness.
Recipe Variations
Feeling adventurous? Here are some ideas to spice up your [italian bread]:
- Herbed Focaccia : Add minced garlic, rosemary, or thyme to the dough before shaping.
- Cheese-Stuffed Loaf : Fold shredded mozzarella or Parmesan into the dough for cheesy goodness.
- Whole Wheat Option : Replace half the bread flour with whole wheat flour for a nuttier flavor and added fiber.
Conclusion
Making [italian bread] at home is simpler than you might think. By following these seven tips, you’ll be able to craft bakery-worthy loaves that satisfy both your cravings and your pride. Don’t be afraid to experiment with flavors and techniques—after all, practice makes perfect! So roll up your sleeves, gather your ingredients, and get baking!
FAQs
Q: How long does [italian bread] last?
A: Freshly baked [italian bread] stays good for 2-3 days at room temperature. Beyond that, consider freezing for extended freshness 8.
Q: Can I use instant yeast instead of active dry yeast?
A: Yes, instant yeast can replace active dry yeast one-to-one. Just mix it directly with the dry ingredients instead of dissolving it first 6.
Q: Is [italian bread] healthy?
A: While [italian bread] isn’t low-calorie, it provides complex carbohydrates and energy. Opt for whole grain versions to boost fiber intake and nutritional value.