
How to Make Birthday Cake Pops in 7 Simple Steps
Table of Contents
Birthday Cake Pops in 7 Simple Steps
Tired of serving the same old birthday cake year after year? Shake things up with birthday cake pops—the fun, bite-sized treats that are as delightful to make as they are to eat! These mini delights combine moist cake and rich frosting, all dipped in a sweet candy coating. As someone who’s been crafting desserts for over a decade, I’m excited to share this simple recipe that turns any occasion into a festive celebration. In this guide, we’ll walk through everything you need—from choosing the perfect cake base to pro tips for flawless pops. Let’s dive in and make your next party a hit!
Why This Birthday Cake Pops Recipe Works
- Easy Ingredients: Uses simple, everyday items you likely have on hand.
- Time-Efficient: Prep and assemble in a breeze, perfect for busy schedules.
- Versatile Decoration: Customize colors and sprinkles to match any theme.
Choosing the Right Cake Base
Best Cakes for This Recipe
The foundation of great cake pops is a moist, flavorful cake. Here’s what works best:
- Vanilla Cake: A classic choice that pairs well with various frostings.
- Chocolate Cake: For the chocolate lovers who want a rich flavor.
- Red Velvet Cake: Adds a vibrant color and unique taste.
Buying Tips
- Homemade vs. Store-Bought: While homemade cake offers a personal touch, store-bought mixes are convenient and reliable.
- Freshness Matters: Use fresh cake for the best texture.
Substitutions
- Gluten-Free Option: Swap with a gluten-free cake mix to accommodate dietary needs.
- Flavor Variations: Try lemon or strawberry cake for a fruity twist.
Ingredients & Prep
Cake Pop Essentials
- For the Cake Pops:
- 1 baked 9×13-inch cake (flavor of your choice)
- 1 cup frosting (matching your cake flavor)
- 40-50 lollipop sticks
- For the Coating:
- 24 oz candy melts or almond bark
- 2 tablespoons vegetable oil (to thin the coating if needed)
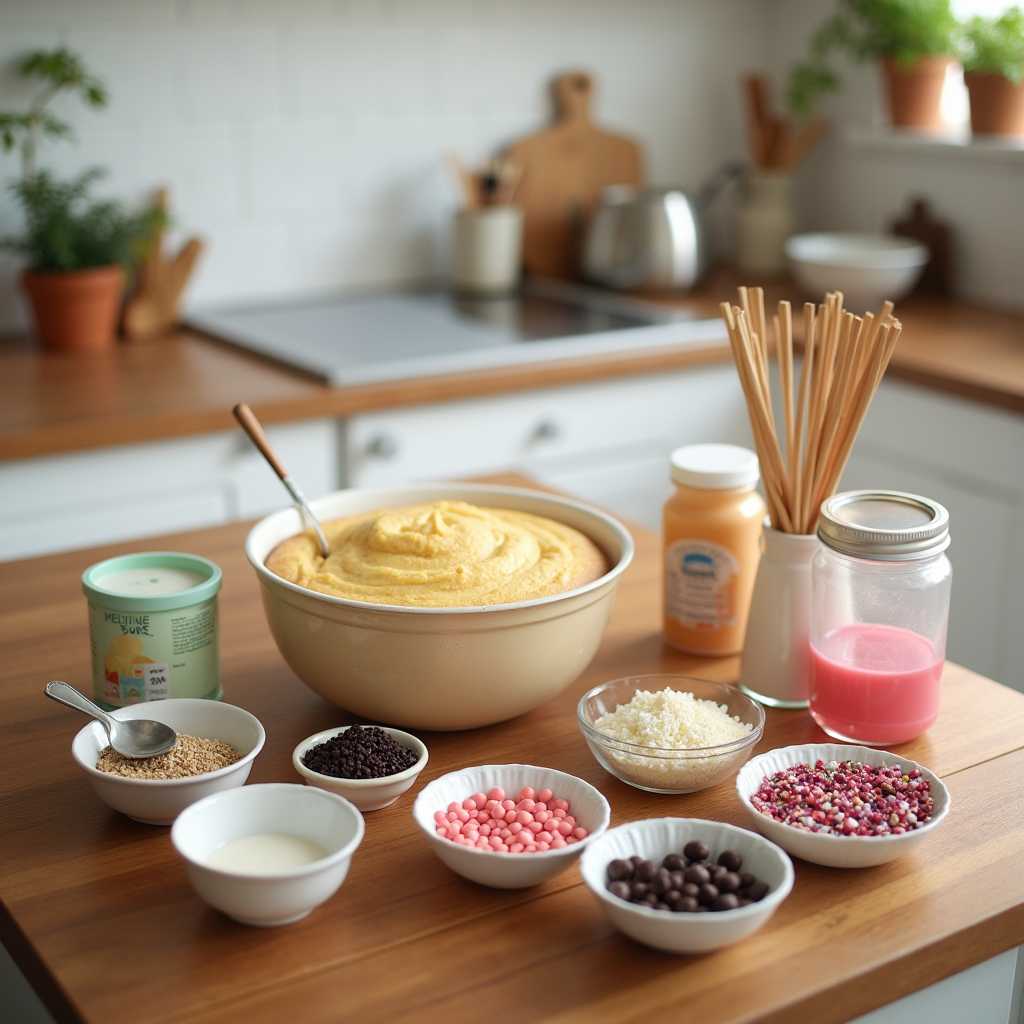
Optional Decorations
- Sprinkles
- Edible Glitter
- Crushed Nuts
Pantry Staples
- Baking Sheets
- Parchment Paper
- Mixing Bowls
Step-by-Step Cooking Instructions
1. Crumble the Cake
Break the cooled cake into fine crumbs using your hands or a food processor. Aim for a uniform, sand-like texture for the best results.
2. Mix in the Frosting
Add the frosting to the cake crumbs gradually, mixing until it reaches a dough-like consistency that’s moist but still holds its shape.
3. Shape into Balls
Roll small portions of the mixture into 1-inch balls. Place them on a baking sheet lined with parchment paper.
4. Chill the Cake Balls
Refrigerate the cake balls for at least 2 hours or freeze them for 30 minutes. This step is crucial to keep them firm during dipping.
5. Insert the Sticks
Dip the tip of each lollipop stick into melted candy coating, then insert it halfway into a cake ball. This helps secure the stick to the cake.
6. Dip and Decorate
Melt the candy melts according to package instructions. Dip each cake pop into the coating, gently tapping off the excess. Before it sets, add your decorations.
7. Let Them Set
Stick the cake pops upright into a styrofoam block or a stand. Allow them to cool and harden completely.
Pro Tips for Perfect Cake Pops
Avoiding Cracks and Falls
- Even Consistency: Ensure the cake mixture isn’t too moist or dry.
- Temperature Control: Let cake pops reach room temperature before dipping to prevent cracks.
Tool Recommendations
- Cookie Scoop: For uniformly sized cake balls.
- Deep Container: Use a tall, narrow cup for easier dipping.
Storage & Reheating
- Short-Term Storage: Keep cake pops at room temperature in an airtight container for up to a week.
- Long-Term Storage: Freeze undecorated cake balls for up to 3 months.
Flavor Variations
Spicy Twist: Cinnamon Cake Pops
- Add to Cake Mix: 1 teaspoon of cinnamon.
- Decorate With: White chocolate coating and a sprinkle of cinnamon sugar.
Chocolate Lovers: Double Chocolate Cake Pops
- Cake Base: Use chocolate cake with chocolate frosting.
- Coating: Dip in dark chocolate and top with mini chocolate chips.
Funfetti Delight
- Cake Base: Vanilla cake with sprinkles mixed in.
- Coating: White candy melts with colorful sprinkles on top.
Serving Suggestions
- Party Platters: Arrange cake pops in a decorative vase or stand for a centerpiece.
- Gift Ideas: Wrap individual cake pops in cellophane bags tied with ribbons.
Conclusion
Ready to wow your guests with these delightful birthday cake pops? With just 7 simple steps, you can create a treat that’s as fun to make as it is to eat. So grab your ingredients and let the baking adventure begin! Join thousands of others who have made their celebrations extra special with this recipe. And if you’re looking for more sweet inspiration, check out our [Ultimate Guide to Cake Decorating] next!

FAQs
Can I Use Boxed Cake Mix?
Absolutely! Boxed cake mix is a time-saver and works perfectly for cake pops.
How Do I Prevent Cake Pops from Falling Off the Stick?
Make sure to dip the stick in melted coating before inserting it into the cake ball, and chill the pops thoroughly before dipping.
Is It Okay to Refrigerate Cake Pops After Decorating?
Yes, but be cautious of condensation which can affect the appearance. If refrigerating, store them in an airtight container.